
If you're already registered with ByteLixir, setup is the part that turns your account into passive income. The workflow is simple: sign in, install the app on your devices, then keep internet sharing enabled so it can run in the background. Add a second device (like Android) and you can increase your results, especially if it uses a different connection than your PC.
Follow along while you set it up on your devices
 Photo by BM Amaro
The easiest way to get through setup is to treat it like a basic deployment: start from the web dashboard, install the Windows client first, then add Android. Each install follows the same logic. You authenticate with the same login and password, enable internet sharing in the app, and then adjust one or two settings so it stays online.
ByteLixir's own flow begins on the official site, your personal dashboard is the control center for downloads and account access. If you install from there, you avoid the common mistakes that come from random download sites and unofficial APK mirrors.
Also, plan your "device strategy" early. One device can earn, but two devices typically earn more because you're contributing from more endpoints. ByteLixir even calls out one key point for Android: using a different Wi-Fi or mobile internet on your phone can increase earnings significantly.
If you like comparing bandwidth-sharing apps and how they work at a high level, this related overview helps with context: Peer2Profit passive income guide.
Before you start: what you need (and what to avoid)
ByteLixir setup doesn't require any upfront spend, but it does require a few basics so the app can stay stable.
Here's a practical pre-check list:
- An existing ByteLixir account (already registered).
- A Windows PC (desktop or laptop) with internet access.
- An Android phone (optional, but recommended for higher earnings).
- Reliable connectivity so the app can stay online.
- Two different connections if possible (for example, PC on home Wi-Fi, phone on mobile data or a different Wi-Fi).
A couple of things can interrupt earnings if you don't handle them upfront. First, Windows security tools can block new apps by default. Second, Android power saving features often pause background activity. Both issues look like "the app isn't working," when it's really the operating system shutting it down.
If you want steady uptime, treat ByteLixir like any background service. Let it run, avoid aggressive battery saving, and allow it through security checks when prompted.
Once those basics are in place, the actual install steps are quick.
Step 1: Log in and download ByteLixir from your dashboard
Start at the official site, then sign in with your existing credentials: ByteLixir website. After login, you'll land in your account area.
From there, look for the download entry point. In the ByteLixir dashboard, the video points to an icon at the bottom-left that opens the download page. That download page is where you choose which operating system to install first.
A clean way to approach this is:
- Sign in to your ByteLixir account.
- Open the download page using the bottom-left icon.
- Pick the correct platform (Windows first in this guide).
- Download only the build provided inside your dashboard.
That last point matters because you want the installer package that matches what ByteLixir published for your account flow. It also reduces the risk of broken installers, outdated versions, or modified APKs.
After the Windows download completes, you'll have an archive file. Don't run anything inside it yet. First, extract it so Windows can access the actual installer file. On most systems, you can right-click the archive and extract it to a folder you can find easily, like Downloads or Desktop.
Now you're ready to install on Windows.
Install ByteLixir on Windows (download, install, and enable sharing)
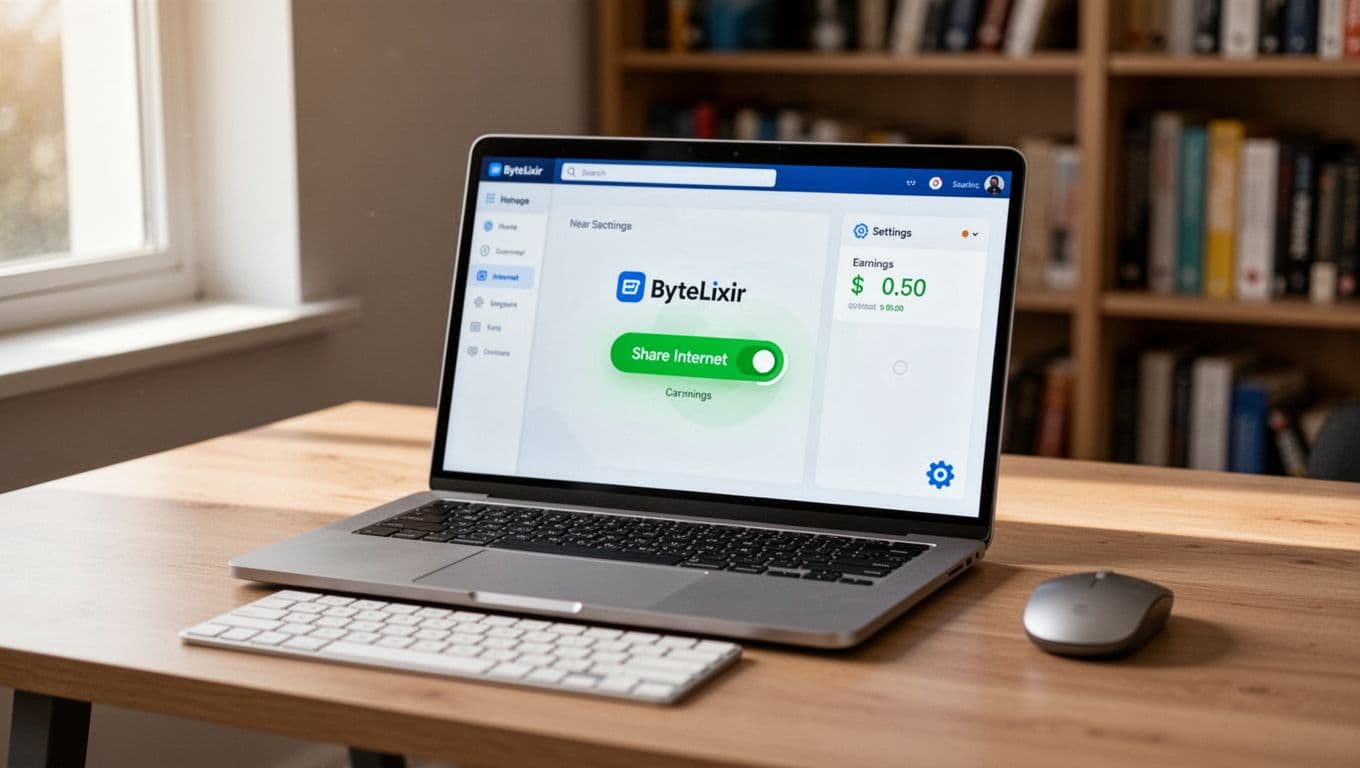 ByteLixir running on a Windows laptop with internet sharing enabled, created with AI.
Download the Windows version from your ByteLixir account
After you open the download page from your dashboard, select Windows as your system and start the download. When the file finishes, extract the archive.
Next, open the extracted folder and locate the Windows installation file (the installer). At this point, you're still in a standard desktop-app install flow. Nothing special should happen yet, but you should stay attentive during the permission prompts.
One small but useful detail in the setup wizard is the language selection. Choose the app language you want during install. If you pick the wrong one, don't worry. The video notes you can change it later in the app settings, so it's not a permanent choice.
Install the app, accept permissions, then restart
Run the installer and proceed through the wizard:
- Start the installation file from the extracted folder.
- Select the app language.
- Click Next through the prompts.
- Accept the required permissions when asked.
After installation completes, restart your PC. That reboot step is part of ByteLixir's documented flow, and it's worth doing because it clears out partial driver states and background tasks that can interfere with new startup apps.
Once Windows is back up, open the ByteLixir app and sign in with your login and password. After you authenticate, look for the main control used to begin earning.
Turn on Share Internet and make it start with Windows
Inside the app, press the Share Internet button. That action is the actual "go live" step. When it's enabled, the app can begin operating as intended.
Next, open the app settings and enable the option to launch ByteLixir at system startup. This setting matters because uptime drives consistency. If the app only runs when you remember to open it, you'll lose hours or days of activity over time.
Stability tip from ByteLixir: add the app to your antivirus whitelist. This reduces unexpected blocks and improves long-run uptime.
After that, you're done with Windows. At this stage, the app should already be earning, and the only ongoing task is keeping it running.
Add ByteLixir on Android to increase earnings
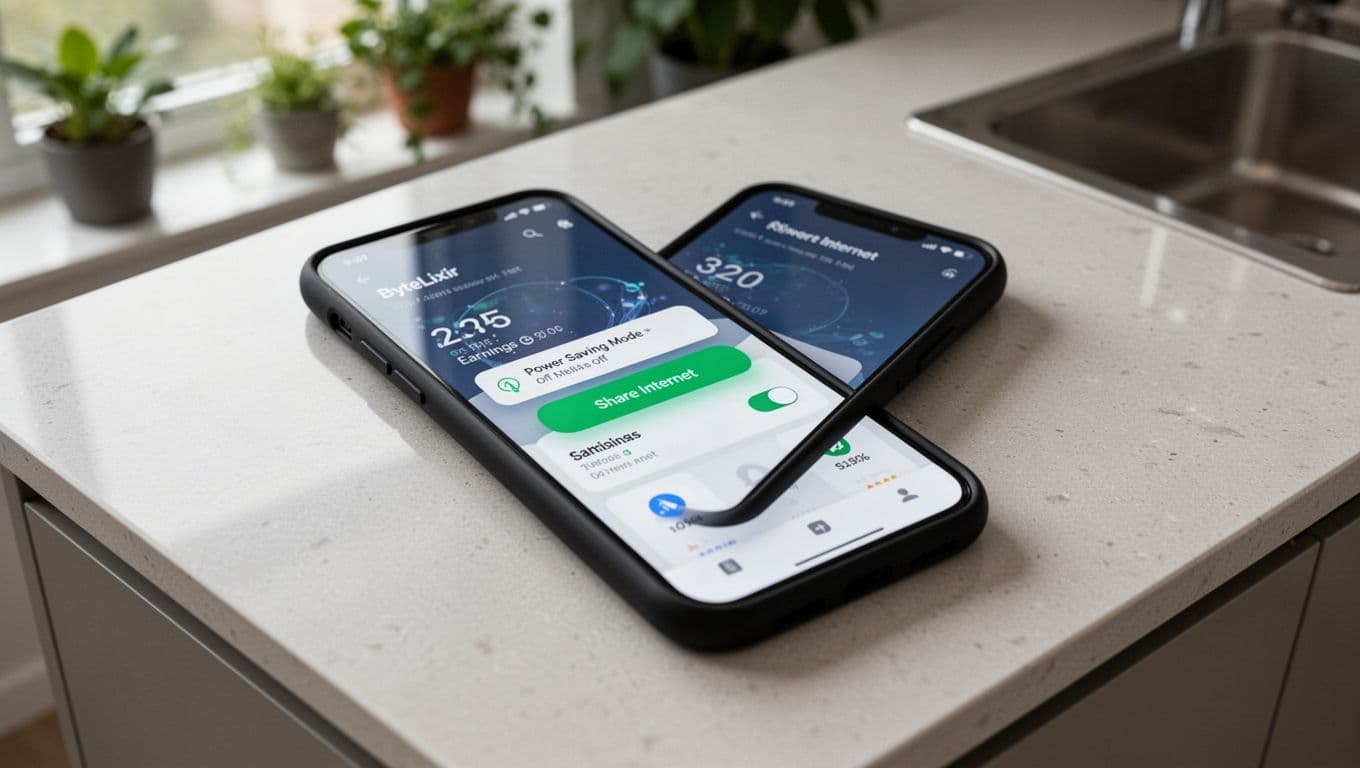 ByteLixir enabled on an Android phone with power saving disabled.
Use a different connection on your phone when you can
ByteLixir makes one Android recommendation that's easy to miss: use a different Wi-Fi or your mobile connection on the phone to increase earnings significantly. In practice, that means you shouldn't run both devices on the same network if your goal is higher results.
A simple setup looks like this:
- Windows PC uses your home Wi-Fi.
- Android phone uses mobile data, or a separate Wi-Fi source.
Once you've decided which connection the phone will use, you can install the Android app.
Choose your Android install method: Google Play vs official APK
ByteLixir describes two install paths on Android. Both end with the same steps in the app (log in, enable sharing, disable power saving). The difference is where you get the installer.
Here's the quick comparison:
| Android option | Where you get it | Why you'd use it | Key safety note |
|---|---|---|---|
| Google Play install | Google Play | Standard install flow | Use the official listing only |
| APK install | Downloaded from your ByteLixir dashboard page | Confirms you're using the official app package from ByteLixir | Do not download APKs from other sites |
If you install from Google Play, install it like any other app, then open it and sign in with your ByteLixir credentials.
If you install via APK, download the APK from the official download page inside your account. Then tap the downloaded file and complete the install. This is still a normal Android install flow, but you should only trust the APK provided by ByteLixir.
ByteLixir's warning is direct: download the APK only from the official ByteLixir page, not from third-party sources.
Final Android checks: Share Internet on, power saving off
After install, open the app and log in using the same login and password as Windows. Then confirm two settings:
- Share Internet is enabled.
- Power saving mode is disabled so Android doesn't pause ByteLixir in the background.
This second point is a common failure mode for background apps. Even if the app looks fine right after you set it up, Android can restrict it later when the phone is idle, low on battery, or in a battery-optimized mode. Turning off power saving for the app keeps it active for longer periods.
When both Windows and Android are running, you have a simple multi-device setup that can generate ongoing passive activity without daily effort.
Keep ByteLixir running, and use support if something breaks
At this point, the work is mostly operational. Keep ByteLixir running and let your devices do the background work.
On Windows, the "launch at system startup" setting is your best friend. It turns restarts into a non-event because the app comes back on its own. On Android, the biggest risk is battery management. If you notice the app stops after a while, re-check power saving and any app restriction settings that might have been re-enabled after an OS update.
If something doesn't work, use the official support channel: ByteLixir support contact form. Support is the right place to go when sign-in fails, installs won't complete, or the app won't stay enabled.
If you're also testing other bandwidth-sharing options across devices, these comparisons can help you think in a structured way about uptime and device coverage:
Conclusion
Once ByteLixir is installed on Windows and Android, the system is straightforward: log in, enable Share Internet, and keep the app running. Windows startup settings help maintain uptime, while Android power saving settings are the main stability factor. Add a second device on a different connection and you can increase activity without changing your routine. If anything fails during setup, support is the fastest path back to a working install.